Image Slider is the latest trend in blogging to show content images and info-graphic in a blog. You can see image slider in many blogs when you visited on a website. In this article, we will learn how to add an image slider on blogger.
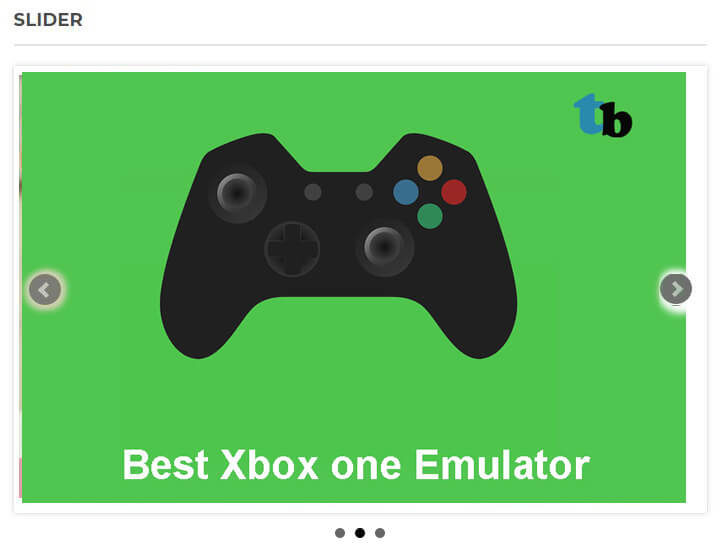
Image slider is a cool way to showcase you’re graphic and image. It will increase the CPC (click-through rate) in your blog. And one other feature is loading time, it decreases the loading time on your blog page because all the image doesn’t load at the same time as compared to normal.
Note: In a survey, you can lose 10% of you reader just delay in one second page load time.
Page Contents
How to install image slider on blogger
Image slider depends on the jQuery plugin. So first you need to check in your blog template code. jQuery plugin added or not. To check go to template section click on the HTML button, blog template source code are open. Move your mouse inside the code editor and click and click anywhere to activate the code view.
Also read: How to Embed Facebook Messenger Chat widget in blogger
Press Ctrl+F button on your keyboard to open search input box. Enter “jQuery.min.js” in the search bar and hit enter. If any “jQuery.min.js plugin added it will be highlighted. If there are no “jQuery.min.js plugin found in your template then first, we add the “jQuery.min.js plugin in the template.
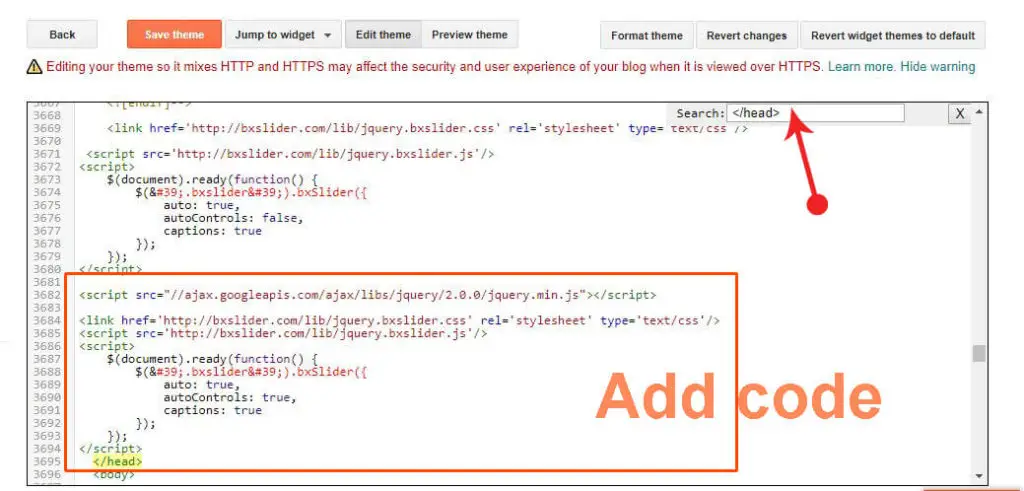
Add this code your template right before </head> section.
<script src="//ajax.googleapis.com/ajax/libs/jquery/2.0.0/jquery.min.js"></script>Make sure first, backup your template.
Add Image slider styling in blogger
To add the image slider styling in blogger. You need to add this code in your template right before </head> section.
<link rel="stylesheet" href="http://bxslider.com/lib/jquery.bxslider.css" type="text/css" /> In the next part find ]]></b:skin> code in your blogger template. And the CSS styling code right before ]]></b:skin>.
 .bxslider img{
width:100%;
height:400px;
}
.bx-wrapper img {
display: inline !important;
}
Note: You can adjust the height and width as you want.
Add jScript to activate the image slider
Seach </head> section right before the </head> add this code.
<script src="http://bxslider.com/lib/jquery.bxslider.js"></script><script>
$(document).ready(function() {
$('.bxslider').bxSlider({
auto: true,
pause: 50000,
// in millisecond
autoHover: true, // pause on hover
autoControls: true,
captions: false
});
});
</script>By this code, you can control the image slider properties like an auto slide.
- auto: true means slider automatically slides when the page load.
- autoControls: true means to navigate the slide back and forth enable. You disable this by replacing true to false.
- Pause: Time between the slider transition in millisecond.
- autoHover: Pause on mouse hover.
Add image Slider into Post
Your image slider is almost ready. Now you need to add images in your slider. There are no limits you can add as many sliders in your post or pages in your blog.
TO add the slider add this code in your post. Add a new post or open Your old post click on the HTML view and the given code.
<ul class="bxslider">
<li><img src="ImageURL1" title='CaptionGoesHere' /></li>
<li><img src="ImageURL2" title='CaptionGoesHere' /></li>
<li><img src="ImageURL3" title='CaptionGoesHere' /></li>
<li><img src="ImageURL4" title='CaptionGoesHere' /></li>
</ul>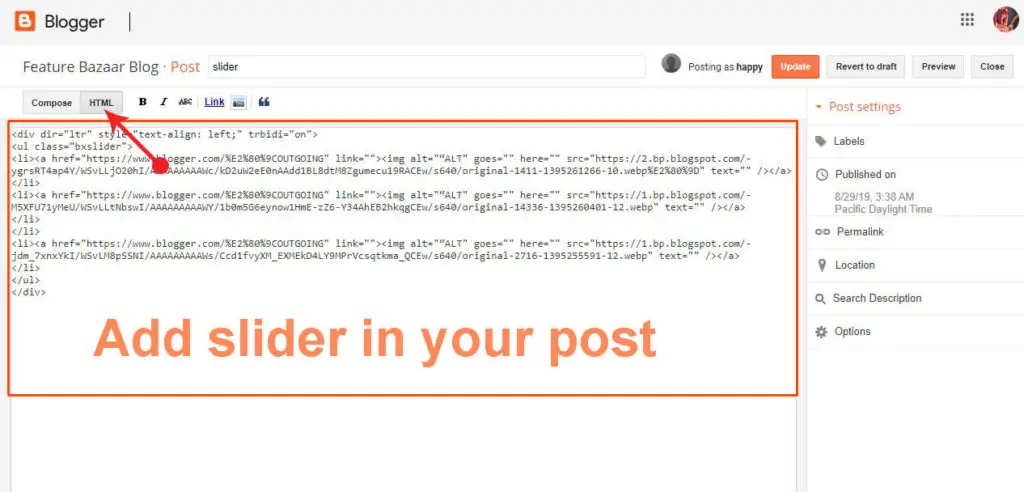
Note: replace ImageURL1, 2, 3, 4 to your image url.
If you want your slider image is clickable you need to add herf tag in above code for example
<li><a href=“Your LINK"><img src=“IMAGE URL” alt=“ALT TEXT GOES HERE" /></a></li>Now click on the compose button to revert HTML code view to normal view. You can see the image slider is properly add in your blog. Check the demo here.
Conclusion
Image slider is a best way to showcase you’re image and presentantion. It will increase the CPC (click-through rate) in your blog. And one other feature is loading time, it decreases the loading time on your blog page
HI, I have a question regarding the image slider, I have completed all the steps above but my images just came out like a plain white box. Please assist me
Check your image URL is correct or not. Or please provide your website URL so we dig out what’s the problem.
Very good to know that this option is available. Hope it will work for us when we use it in the near future. Thanx for providing this resource.
thank you for that great tips
I have a quetion!
can this method work if we remplace the <img with <div contain image?
I hope my quetion is understandable
thanks again
Yes, you can replace img tag with div tag contain images. This code not just bound with the image slider you can do lot’s of thing, it’s totally depends on your imaginations.
Hello brother,
Thank you very much for your this post. I found it to be very useful and I shall use it in my website.
However, how to control the speed of the image slider? The default speed seems to be a bit fast for my purposes, as I have images with a lot of details to be read.
Can you please let me and others know how to customize the time/speed of the slider? whether in seconds or miliseconds, etc.?
And also the code for how to pause the slideshow on hover?
If you can provide the code it will be useful.
Thank you very much in advance,
Regards,
Hitesh Khiani
I updated the code you can check it.
hello
it is not working in dynamic view template . can you help me with this please?
i have the same problem. I followed your instructions but it image slider does not work in blogspot (blogger.com). I tried it on another template. Can you help as??
https://www.kinigetika.ml/2020/12/test.html
sir,
its not auto running.
please guide how to set it on auto running slider.
Hy sir,
I have completed all the steps but slider is not showing on mine site http://www.healthyhub.club
I have removed the old slider from the template because it’s too big and complete all steps according to your guidance. Can u assit?
Sir i alos try your all steps but not work. how can set it auto slide in http://www.arhanew.com
I can’t find bxslider script CSS and JS in your site.
Hello, I added all the codes, but the slider did not work, please help me